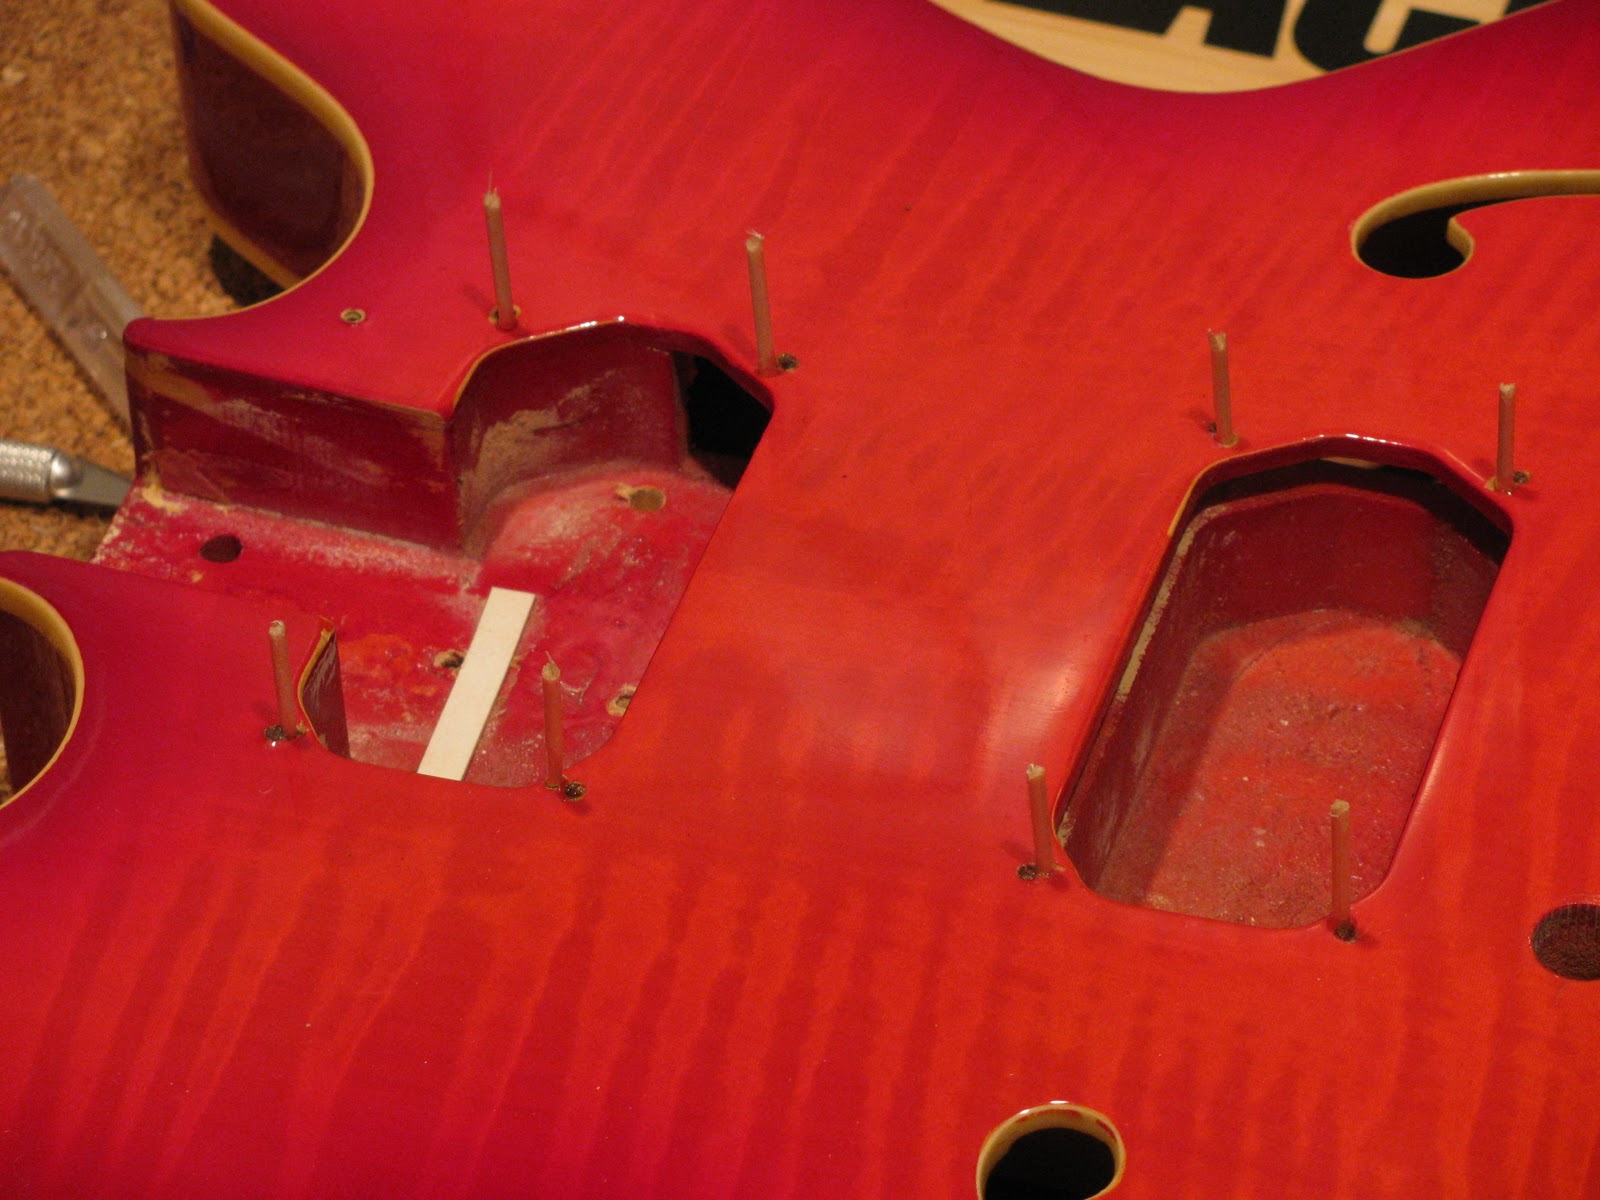
Since I was filling the old screw holes on the neck, I thought it would be a good time to do the same on the body. The original pickups were wider than standard humbuckers so when they were replaced by the '57 Classics, the pickup rings were replaced too. Unfortunately, they weren't quite centered under the strings and part of the pickup route opening could be seen on the treble side of the neck pickup ring. So before I can reposition them, I'll need to fill the old holes. I used an X-acto knife to whittle the toothpicks to down to the right size to fit the holes and super glue to glue them.

Next came the bridge stud holes. They needed to be filled too but toothpicks weren't going to cut it. I measured the diameters and it was just under 1/2". I could get a 1/2" diameter dowel but do I drill out the holes to fit it or try to sand the dowel down to size? Went to the hardware store and found just what I needed: 1/2" dowel pins. These were already cut to short 1-3/8" lengths and had fluted shanks. They'd be much easier to sand down to the right size and the fluting would provide some space for the glue. Below you can see one I've already sanded and the other about to be sanded (and also that I've started to snip off the ends of the toothpicks filling the pickup ring holes).
Once I had both plugs fitting snugly, I put some Titebond wood glue on them and pressed them into place.
Plugged the holes for the back plate screws too. Two of the holes were already close to being stripped anyway.
The tailpiece and pickguard screw holes were filled next.
The new US switch and pots require larger openings than what the original Japanese parts needed (the hole for the output jack was already enlarged to accomodate the replacement Switchcraft jack). I used a wood reamer to enlarge the holes for the pots and a short chunk of dowel with sand paper wrapped around it for the switch hole. Here you can see the switch nut. I used it to test the fit as I sanded.
Once the toothpicks in the back of the headstock had dried and been snipped off, I used a riffler file to file the stubs flush with the surrounding wood. Using a lacquer touch up marker in Cherry Red, I touched up the ends of the toothpick plugs. I'll let it dry before doing drop fills of clear lacquer.
I touched up all the ends of the plugs on the body too. The plugs for the studs took the stain a little unevenly but most of that will get drilled out for the new bridge studs anyways.
Next time: Back to the neck.


No comments:
Post a Comment