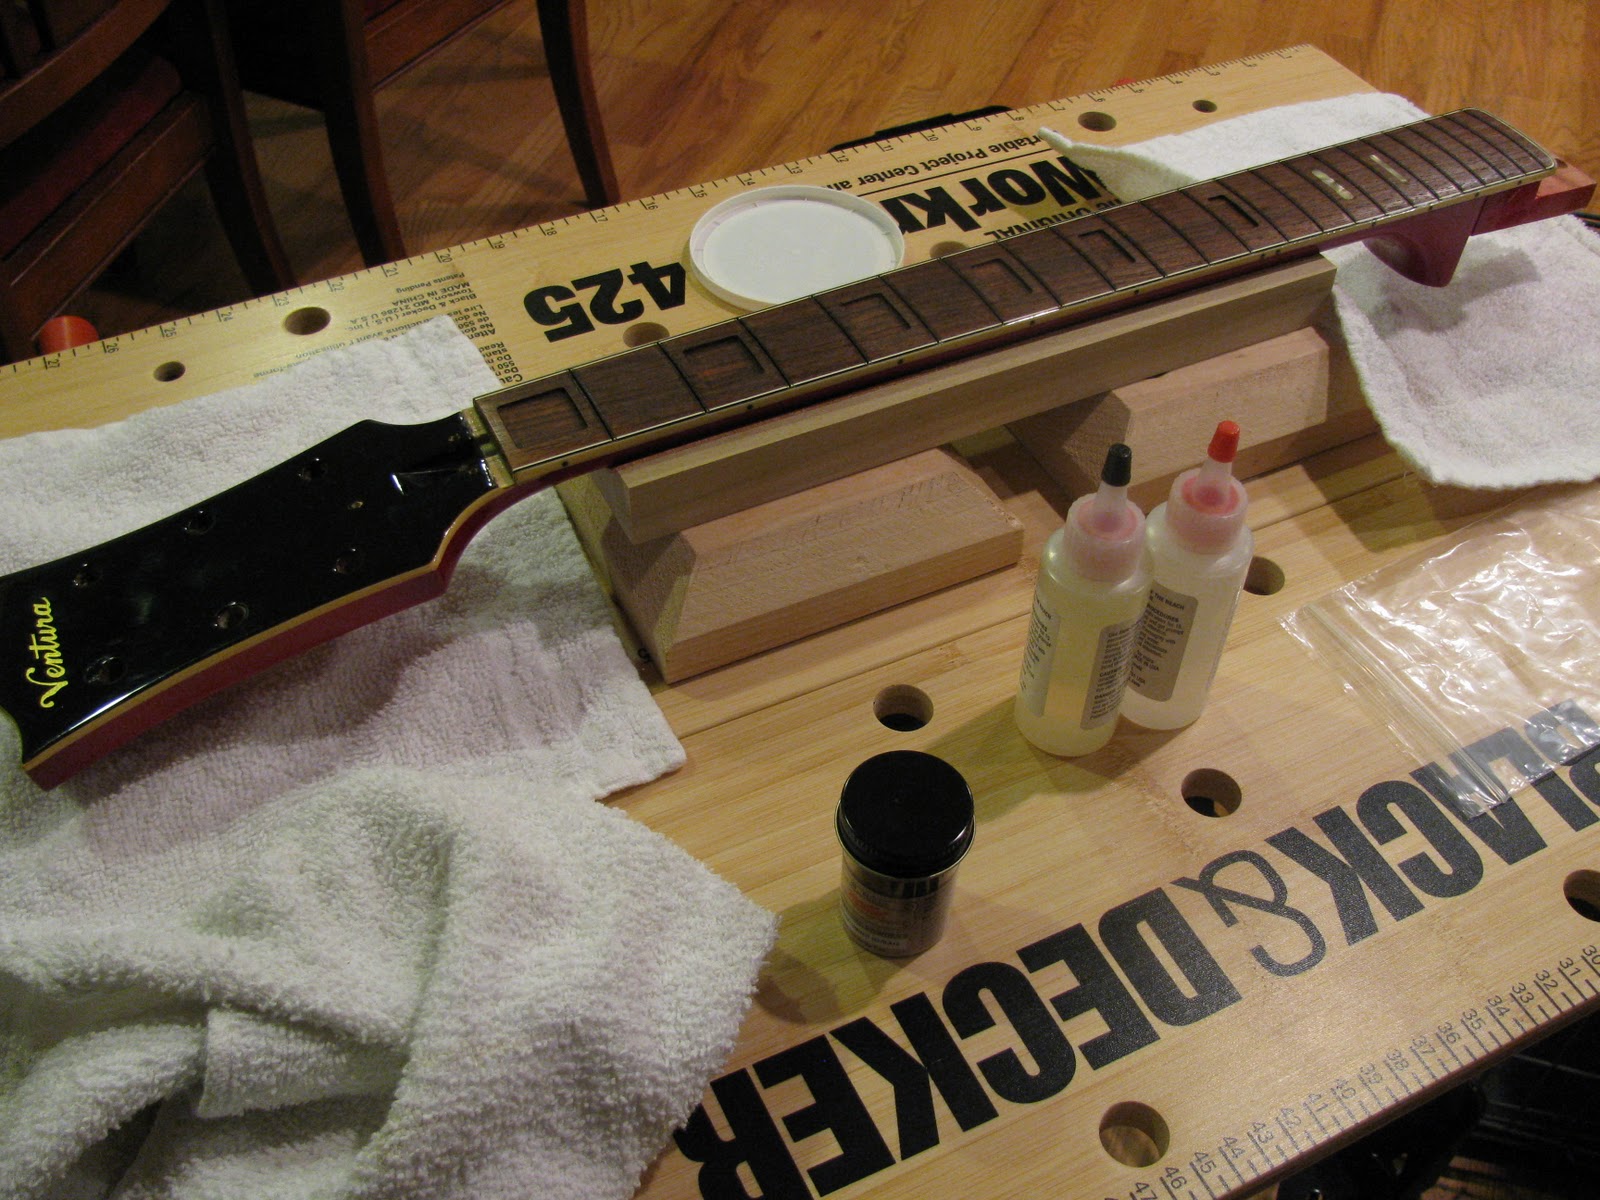
The epoxy requires mixing equal amounts of resin and hardener for it to set up properly. I needed something disposable and that I could use to accurately measure liquids in. So I ended up using a couple of leftover measuring cups from the kids' medicine cabinet - the type that come with liquid pain reliever or cough syrup. Plus I needed to be able to mix in the coloring powder before applying the epoxy to the neck.
My first batch was way too dark. I didn't realize how little was really needed to color the epoxy. Second batch was a little better and that's what I put in the inlay routes. I remembered reading somewhere to fill each route to about 2/3 full. That would provide enough epoxy to bond the inlays to the fretboard and fill in any gaps in the surrounding wood. I think I put a little more than that in but should be ok - just more to scrape off later.

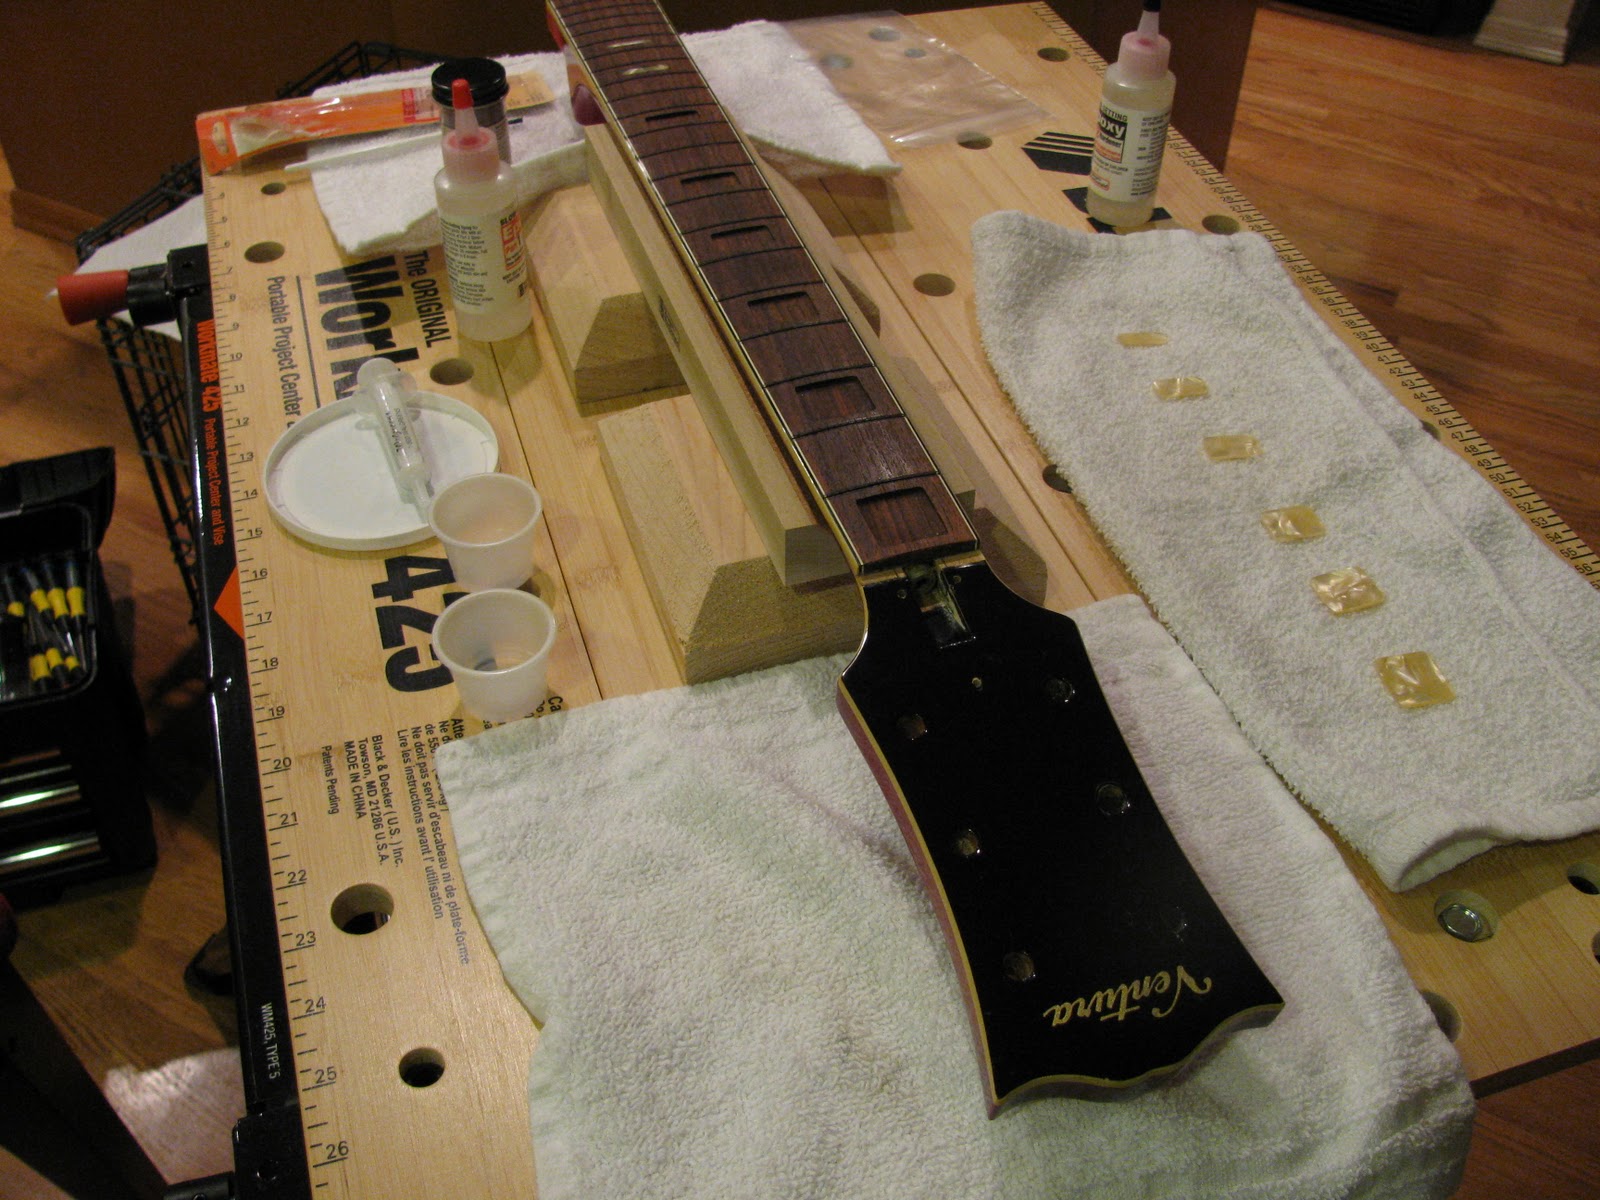
I had checked each inlay in its slot ahead of time to find the best fit and laid them out in the correct sequence and orientation. Then it was just a matter of dropping them into place and firmly pressing them to get any air bubbles out and get the epoxy to fill the gaps around the edges of each inlay.

No comments:
Post a Comment