
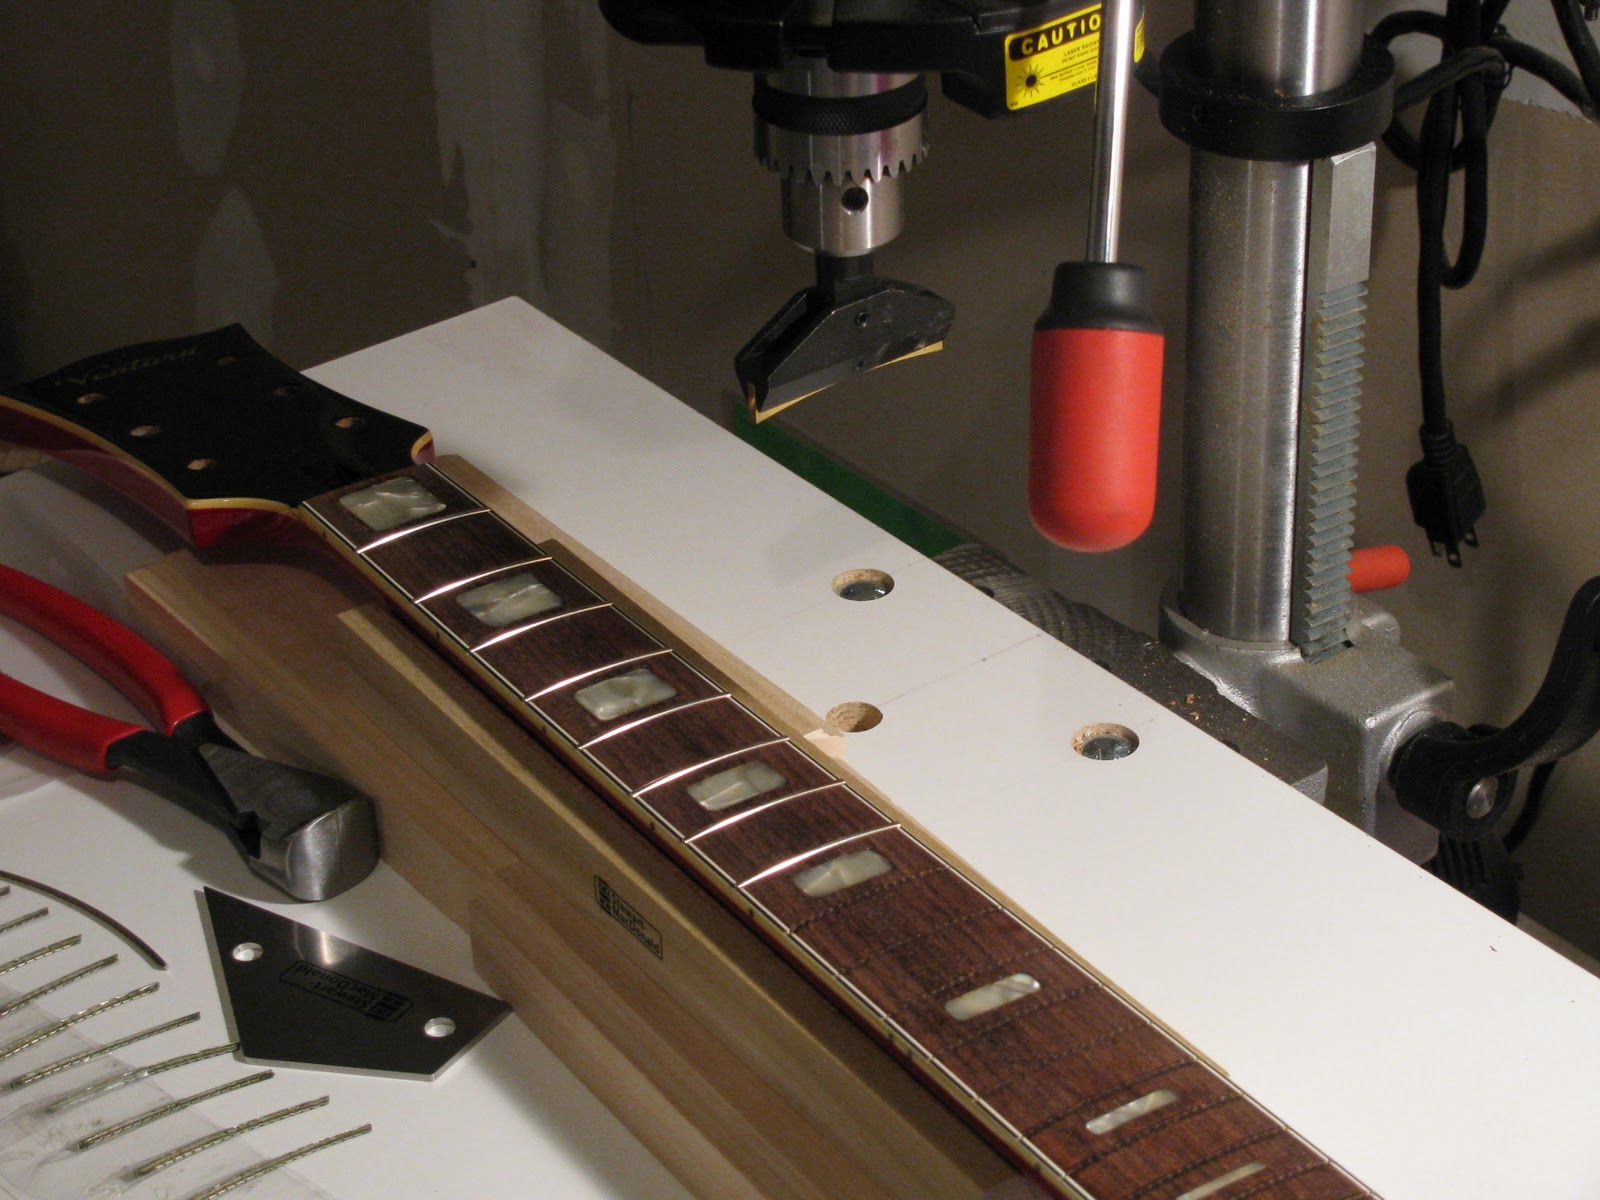
Because of the neck binding and curvature of the fingerboard, it was a little tricky to measure the correct length for each fret. Plus the pre-bent frets were slightly over bent (which helps prevent the ends from popping up once installed). I used a small flexible metal ruler with a sliding pocket clip to measure each fret slot. Then I cut the fret to a slightly longer length and nipped the tang at each end so that the tang angled inward. This would allow the fret to expand outward slightly as it was pressed/flattened and avoid damage to the neck binding. You can kind of see what I mean here if you look closely at the fret ends:

The first two frets installed:

I was very happy I had bought that extra set of frets. A couple of times I cut a fret just slightly too short so had I not had the extra set, I would not have had enough frets to finish the job in one go. Here is a shot with a few more frets installed:
I used my fret rocker tool to check how level the frets were as I went along. When I found a high fret, I'd re-press it or use my fretting hammer to seat it better. Supporting the neck under the fret being pressed in was simple until I got to the point where the frets were over the tenon - this required a little bit more creative approach to supporting the neck but it wasn't too difficult. All the new frets installed:

Next step was to glue the frets in so I needed to prep the fingerboard. Using a Q-tip, I applied wax paste very close to but not touching each side of each fret. This would keep the thin super glue from sticking to the neck as I applied it.

I used a whip tip nozzle extension to apply the glue along each side of the fret. The thin super glue was then drawn into the fret slot. I then wiped off any excess glue with a piece of paper towel. Gluing completed:

It took several hours (including prep) to get the frets installed and glued. By this point, it was late enough on a Sunday night that I knew I wouldn't have enough time to level, crown, and dress the frets so it'll wait until next time.
No comments:
Post a Comment